Synergy Photos and Debugging Tips
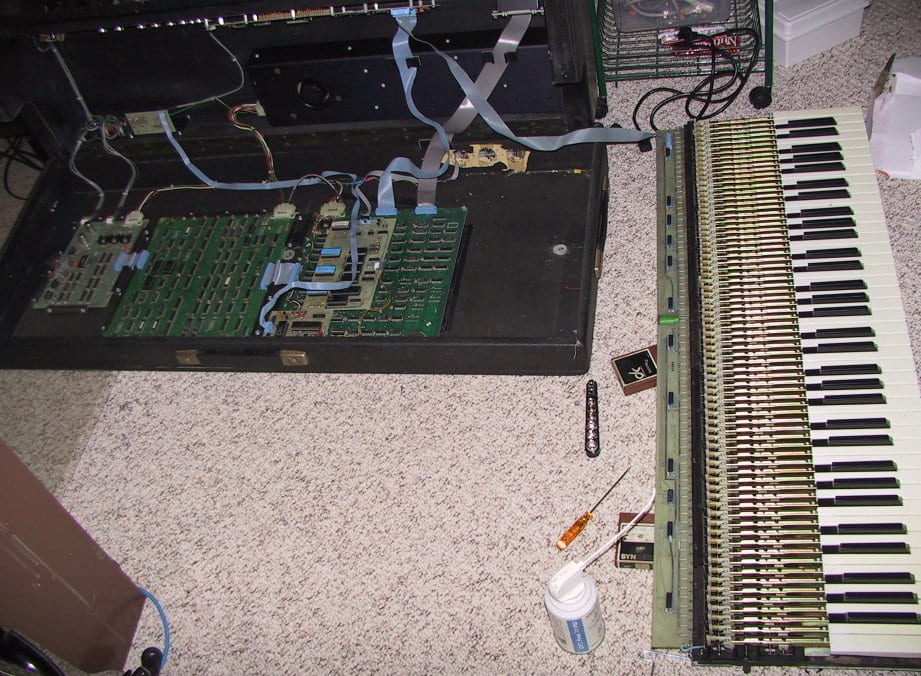
Here’s what a Synergy looks like after you get it opened up.
From left to right, the circuit boards sitting on
the bottom of the case are the D/A board, the digital oscillator board,
and the processor board.
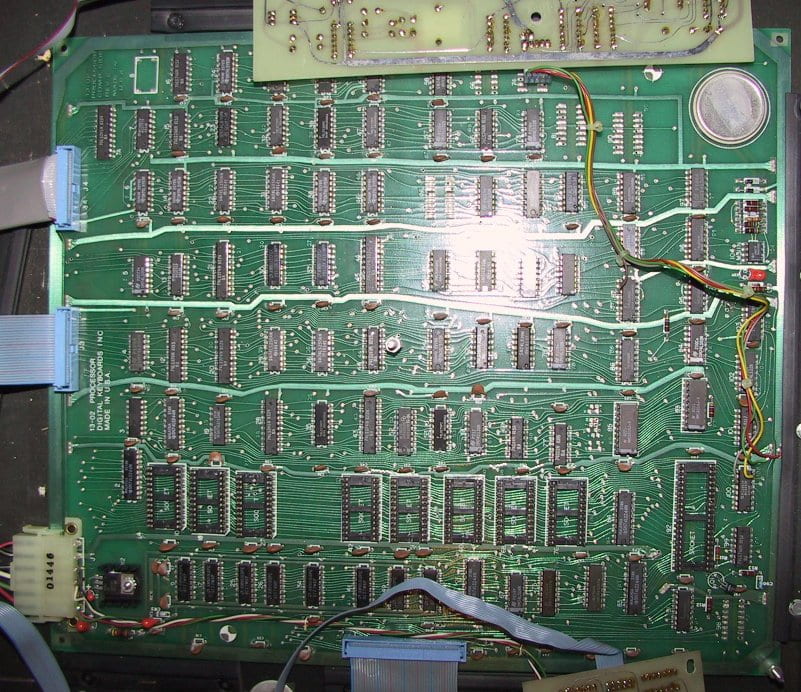
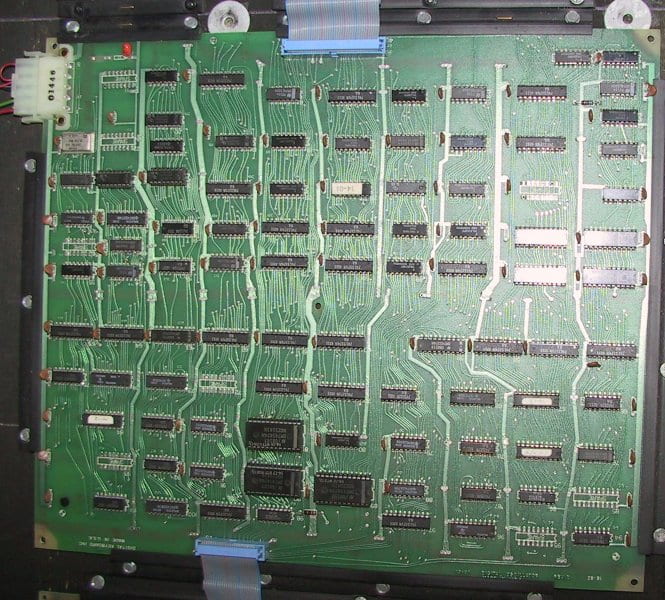
This is what the processor board looks like without the daughter cards.
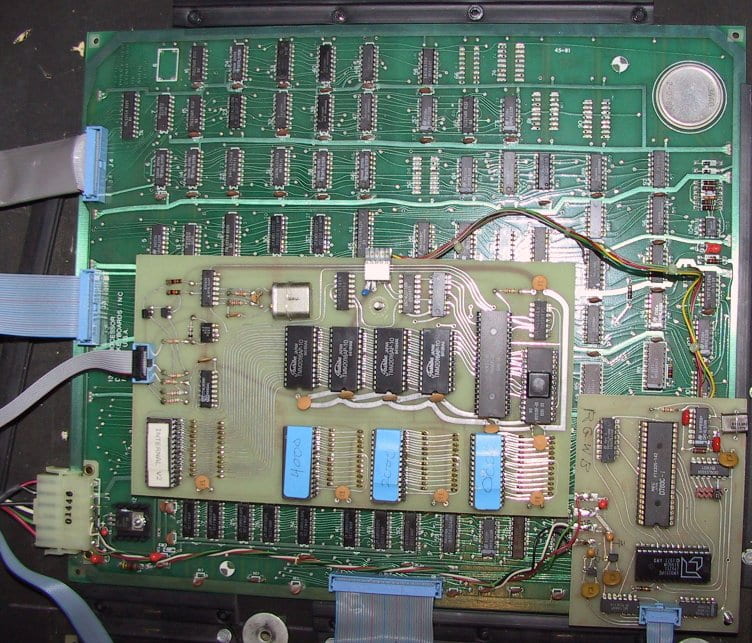
Here’s what the processor card looks like with the daughter cards. The
smaller one of the left is the RS-232 interface circuitry. The other one
is the MIDI interface and the ‘VRAM’. I think it’s the addition
of these two cards (and sticking some MIDI plugs in the back) that turns
a plain Synergy into a Synergy II+. (Note you can’t tell the difference
between a plain Synergy and a Synergy II+ just by looking at the front.)
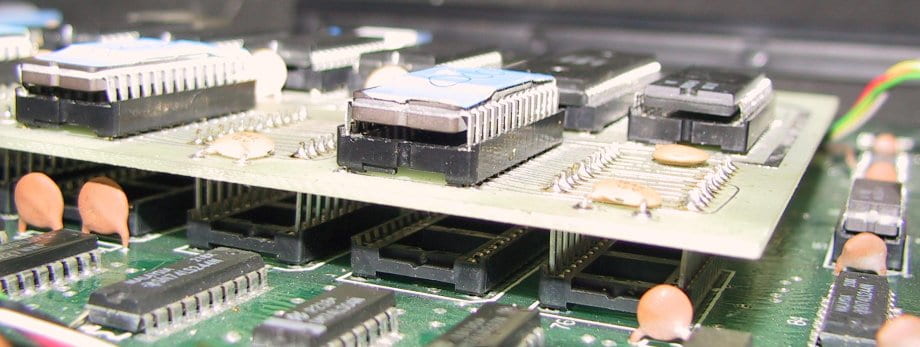
This next
photo illustrates a major design flaw in the Synergy; the daughterboards
are connected to the motherboard via wire wrap pins jammed into IC sockets.
If you sell your Synergy, be aware that it may no longer be working by the
time it gets to the buyer, as the pins can pop out. Over time, the IC sockets
will weaken, and it gets harder to make a good connection. If the wire wrap
pins aren’t making good contact, you’ll get a nonresponsive Synergy –
either all the lights will be on, or all will be off, or you’ll get
something in between. The solution it to rip them out, and reseat them.
And do it again. And again. Over and over, making sure the pins are all lined
up right each time. Do this for about a week, and eventually you’ll luck
out, and they’ll make good contact. That’s how long it took to get mine
working. Whoever you sell the Synergy to needs
to know about this little quirk, and willing to deal with it.
There’s another potential problem, which is that the EPROMS may start
losing their data after about 20 years, and most Synergies are about that
old. At some point I plan to get the EPROMS copied to a new set of EPROMS.
Paul Schreiber suggests a good way to stabilize the Synergy, if you
have the soldering skills (or can find someone with the skills):
“What needs to be done is not $$$ parts-wise
(<$50) but it is tedious time wise. You have to: a) get new EPROMS and
copy the OS. EPROMs are only good 20 years. You are on
borrowed time.
b) unsolder the EPROM sockets off the 'main' board.
c) unsolder the EPROM sockets off the daughter board.
d) Use Samtec headers instead of the goofy wire-wrap sockets to go in-between
the two. Then use low-profile screw-machine IC sockets for the new EPROMS.
Like I said: it's not that hard but it takes a LOT of time. But then you have
a stable Synergy II+." If Paul did such a repair, he thought the cost would
be around $350, but most of that would be in labor.
This is the digital oscillator board, which is based very heavily on
the digital synth Hal Alles designed at Bell Labs. Notice it’s mostly
run-of-the-mill 74 series parts. There’s no custom chips as far as I can
tell. (To a certain extent,
this makes a Synergy easier to fix, I think, than a lot of vintage
analog synths. If your analog synth uses a Curtis chip, you can still get
most of those. If the CEM5530 on your Prophet VS blows, like mine did,
the CEM5530 is no longer available, but Wine Country can make a
daughterboard replacement. But if you need an SSM chip, or one of the custom
Roland chips, you may be S.O.L. In contrast, I think everything on the
Synergy could be replaced rather easily. Again, if you have a broken
Synergy, it’s worth it to try to get it working.)
On mine, the wavetable ROMs are socketed. I don’t know if they come
socketed standard or not. My board and been hand repaired at some point;
the ROM sockets are all hand-soldered, and the IC sockets were longer IC
sockets that had been snipped down, so it really doesn’t look like a
factory job. Anyway, my Synergy would often make distorted crackly sounds;
the solution was just to pop the ROMs out of their sockets and pop them
back in. Over time, IC sockets like the ones used in the Synergy will lose
their “sproingyness,” and it gets harder for them to make good contact.
On the Synergy (or any old synth), if you’re having trouble, a good first
thing to try is always (carefully) pop out all socketed chips with a
screwdriver, and reseat them. Do the same with any connectors; just unplug
and plug back in everything.
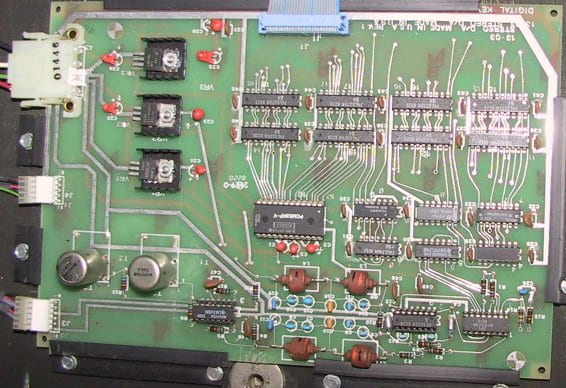
This is the D/A converter board; it hooks to the digital oscillator board.
That’s a real, 16 bit DAC – I can’t imagine how much that must have cost
in 1981, which is when the schematic for it is dated. It is multiplexed
for the two stereo channels. (Debugging tip: if you get noise or static
in one channel but not the other, you should suspect that the trouble is
on the DAC card, somewhere in the analog circuitry after the DAC.) There’s
wires that run from the board to the front panel volume controls.
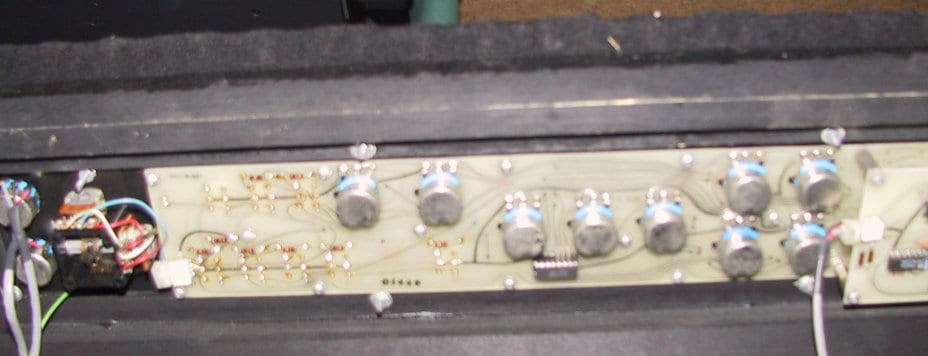
Here’s the left front panel circuit board. The pots on the far left are
the master volume controls.
Here’s the middle front panel circuit board. It has ribbon cables
running to the processor board and the keyboard. On the far right, you can
see the cartridge slot.

Here’s the right front panel circuit board.

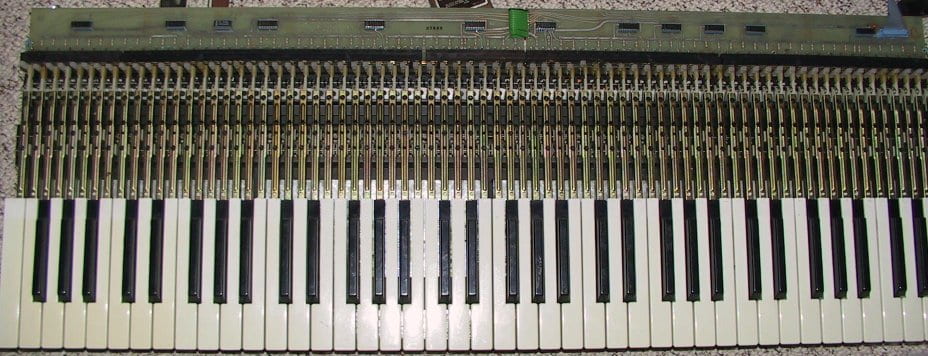
This is what the keyboard looks like when it’s disembodied. It’s pretty
heavy. It’s perfectly safe to leave the keyboard disconnected, and just
trigger the Synergy over MIDI. (Don’t plug or unplug the keyboard while
it’s on, though. I did that accidentally once, and it had a nasty effect,
fortunately not permament…)
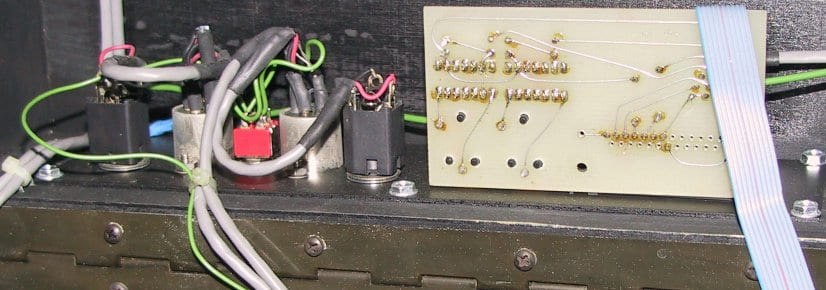
Here’s the 1/4″ and XLR analog outputs, and the RS-232 connector, as they
look from the inside.
This is the fan. It sounds like a jet engine taking off.

Last modified 10/24/04
Maintained by Aaron Lanterman
lanterma@ece.gatech.edu

